Publishing
Publishing Guide
Section titled “Publishing Guide”iSparkClaw AI Editor can transform your Markdown documentation into a beautiful website. This guide walks you through publishing.
Overview
Section titled “Overview”Publishing creates a professional documentation website from your Markdown files in four simple steps:
- Setup — Configure your site
- Sync — Import your documents
- Build — Generate the website
- Preview — View your site
Opening the Publish Dialog
Section titled “Opening the Publish Dialog”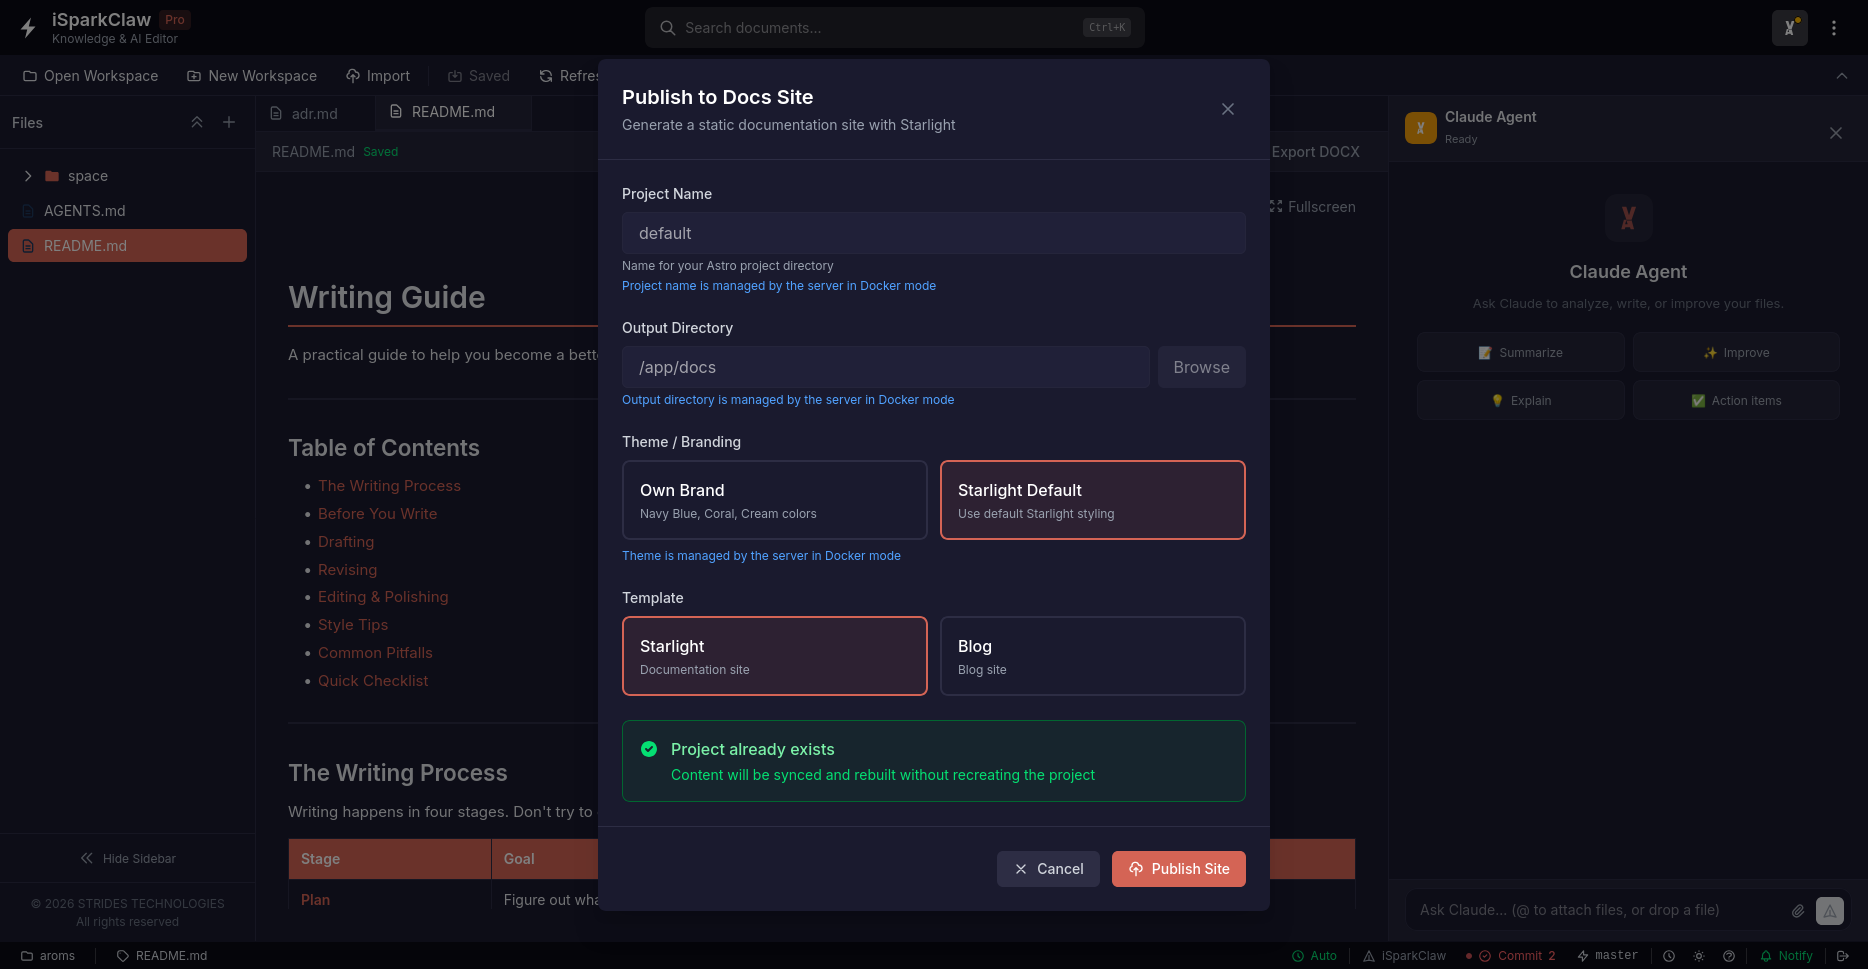
Click the Publish button in the header to start.
Configuration Options
Section titled “Configuration Options”Project Name
Section titled “Project Name”Give your documentation site a name (e.g., “Product Documentation”, “User Guide”).
Choose how your site looks:
| Theme | Description |
|---|---|
| Own Brand | Custom colors matching your organization |
| Starlight Default | Clean, professional documentation theme |
Template
Section titled “Template”Choose a site style:
| Template | Description |
|---|---|
| Documentation | Site with sidebar navigation, search, and dark mode |
| Blog | Chronological post listing style |
Publishing Your Site
Section titled “Publishing Your Site”Step 1: Setup
Section titled “Step 1: Setup”iSparkClaw AI Editor creates the project structure automatically.
Step 2: Import Documents
Section titled “Step 2: Import Documents”Your Markdown files are imported and formatted for the web:
- Images are organized automatically
- Navigation is created from your folder structure
- Clean page titles are generated
Step 3: Build
Section titled “Step 3: Build”The website is generated from your documents.
Step 4: Preview
Section titled “Step 4: Preview”Preview your site in the browser before publishing.
Progress Indicator
Section titled “Progress Indicator”During publishing, you’ll see step-by-step progress:
- Pending (○) — Waiting to start
- Running (◉) — Currently working
- Success (✓) — Completed
- Error (✗) — Failed
After Publishing
Section titled “After Publishing”Preview URL
Section titled “Preview URL”Click the preview URL to see your site in a browser.
Start/Stop Preview
Section titled “Start/Stop Preview”- Stop Preview — Close the preview server
- Start Preview — Open the preview again
Publish Again
Section titled “Publish Again”Click Publish Again to rebuild and update your site.
Updating Your Site
Section titled “Updating Your Site”When you make changes to your documents:
- Click Publish again
- The sync step imports your changes
- Click Publish Again to rebuild
Troubleshooting
Section titled “Troubleshooting”Preview not showing
Section titled “Preview not showing”- Check your internet connection
- Try refreshing the browser
- Click Stop Preview, then Start Preview
Missing pages
Section titled “Missing pages”- Make sure files are in your workspace
- Check that files have proper names
- Click Publish Again to re-sync
-
Keep your Markdown files organized in folders
-
Add clear titles to your documents
-
Use images to make content more engaging
-
Preview before sharing your site
-
Getting Started — Learn more about Doc Site Publish