Getting Started — AI Editor
Getting Started with iSparkClaw AI Editor
Section titled “Getting Started with iSparkClaw AI Editor”Welcome to the AI Editor — iSparkClaw’s powerful Markdown editor for creating and managing documentation.
First Launch
Section titled “First Launch”1. Login
Section titled “1. Login”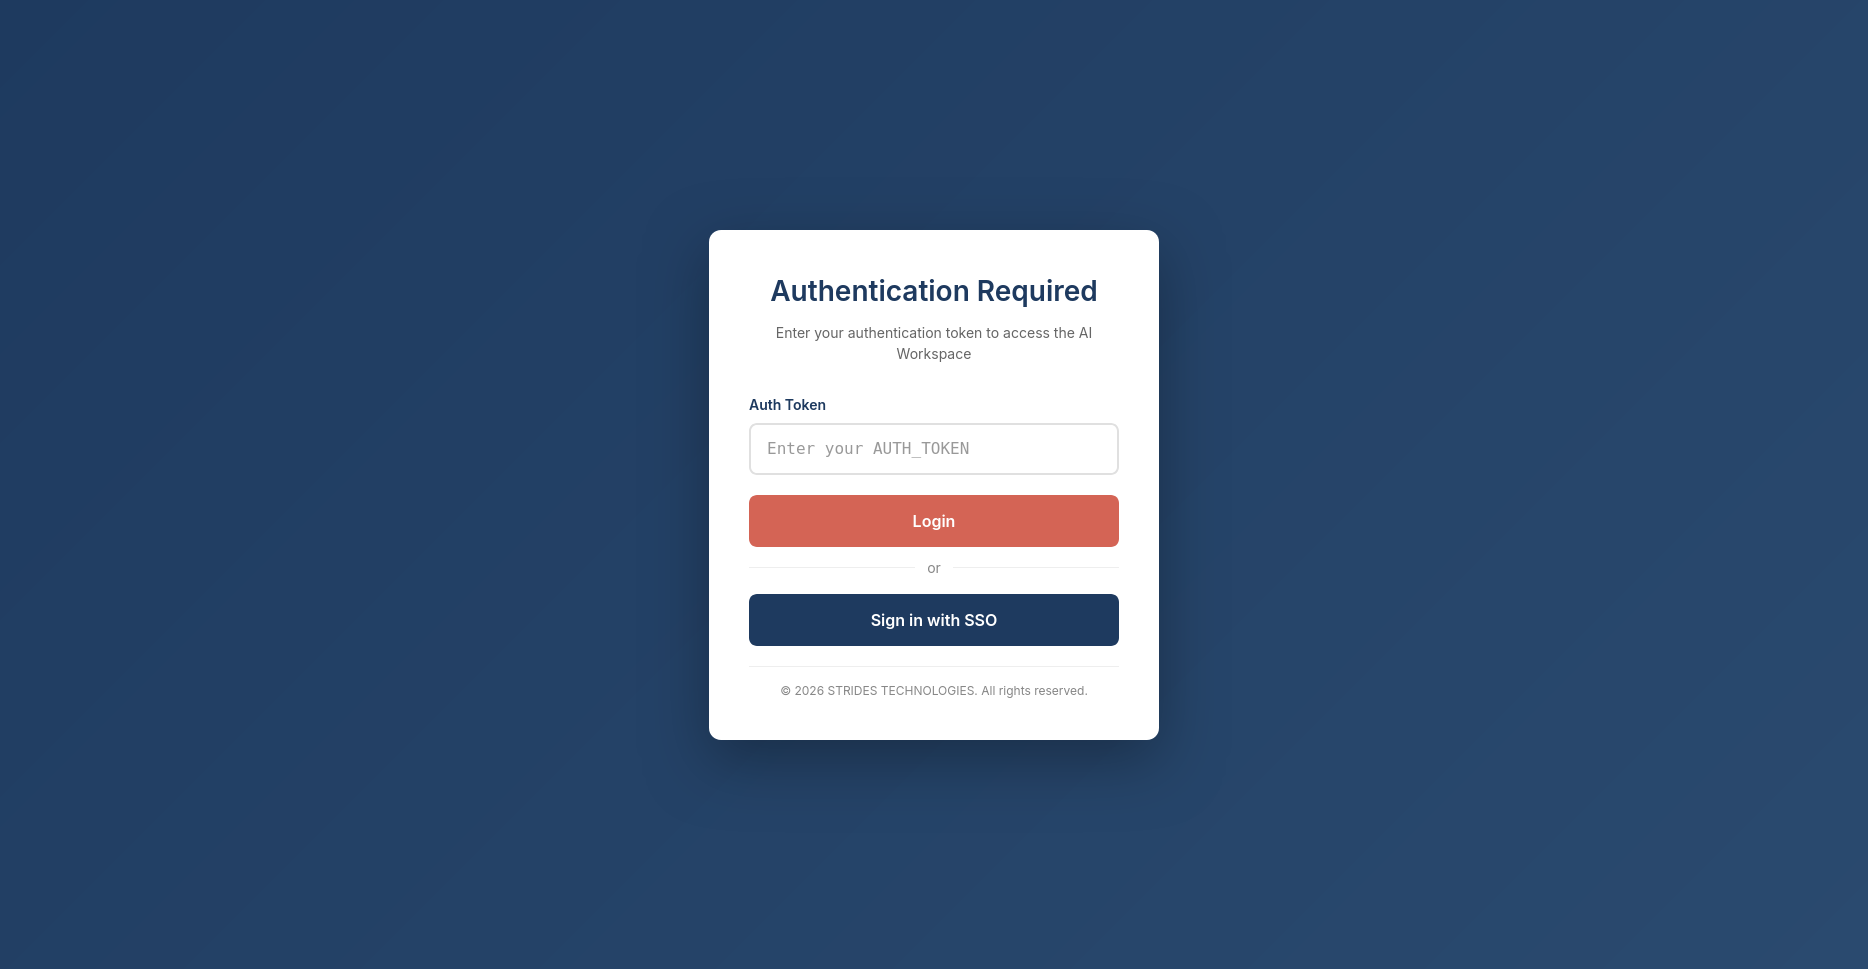
On first launch, you’ll see a login screen. Enter your authentication token provided by your administrator.
The token is stored securely for future sessions.
2. Create Your First Workspace
Section titled “2. Create Your First Workspace”After logging in, click Create Workspace in the header. You’ll see a dialog with these options:
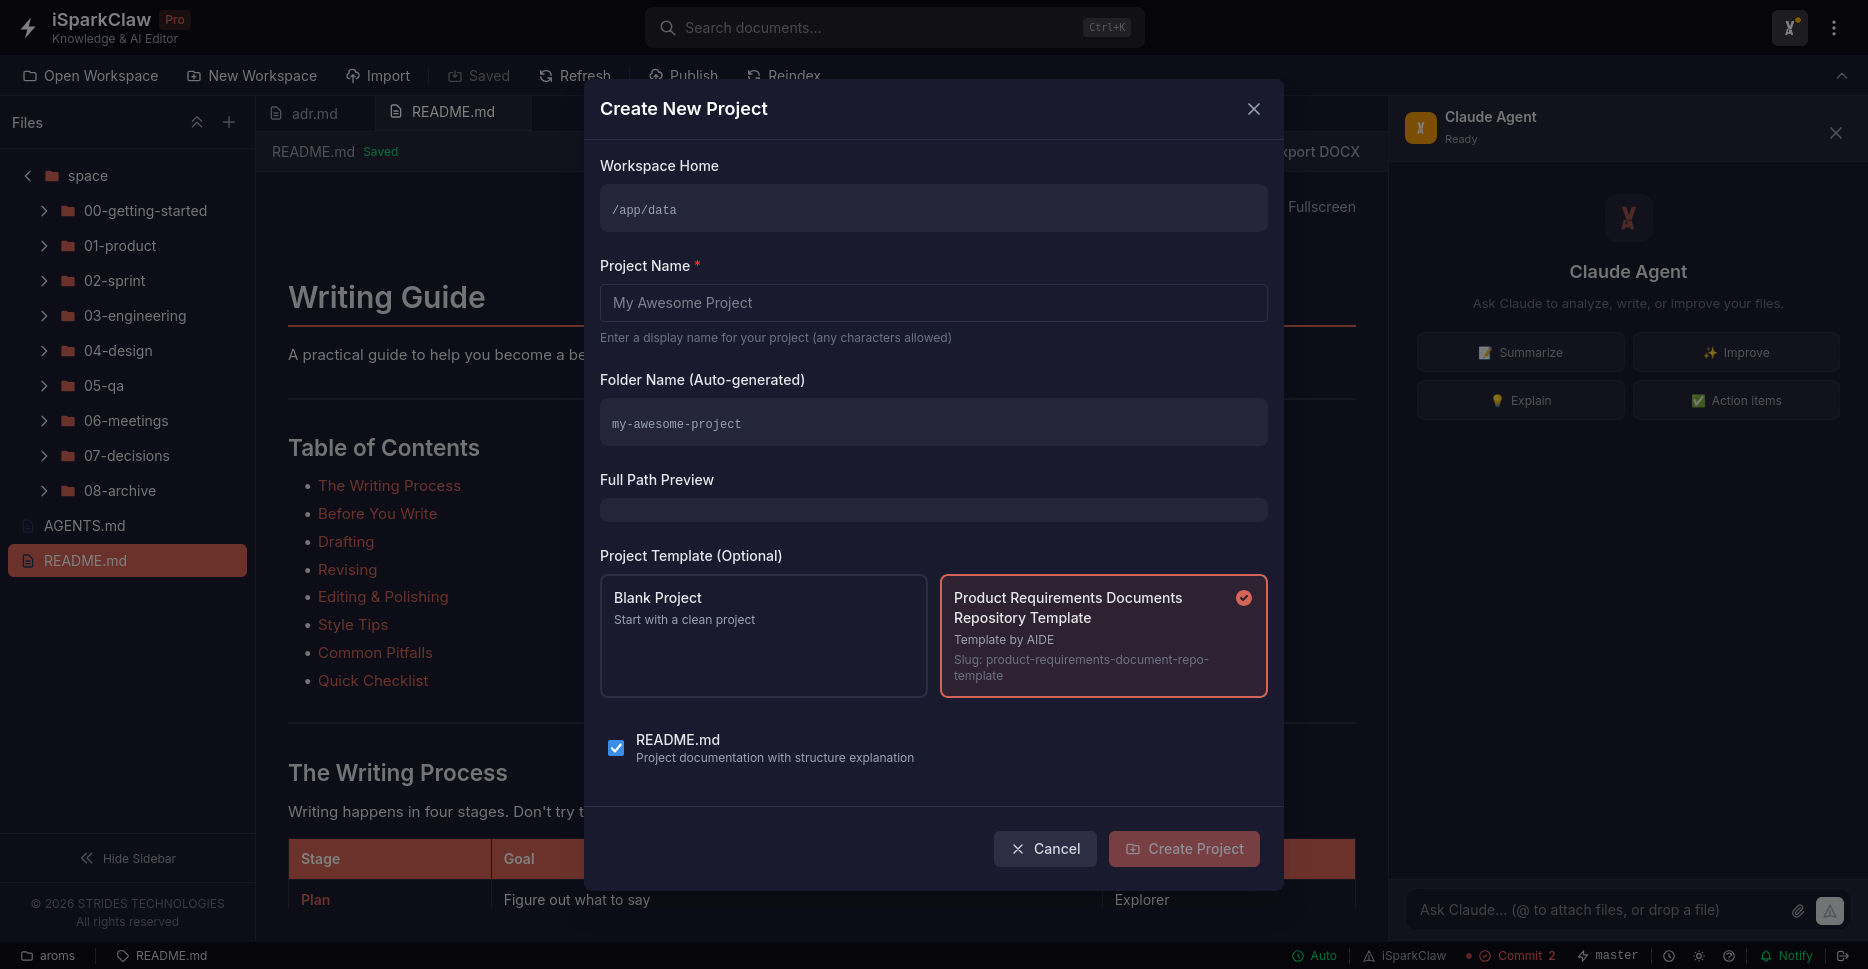
Workspace Name: A display name for your project (e.g., “Product Docs”, “API Reference”)
Options:
- Create README.md — Generates a starter documentation file
- Select Template — Choose from pre-built workspace templates
When you click Create, iSparkClaw will set up your new workspace automatically.
3. Open an Existing Project
Section titled “3. Open an Existing Project”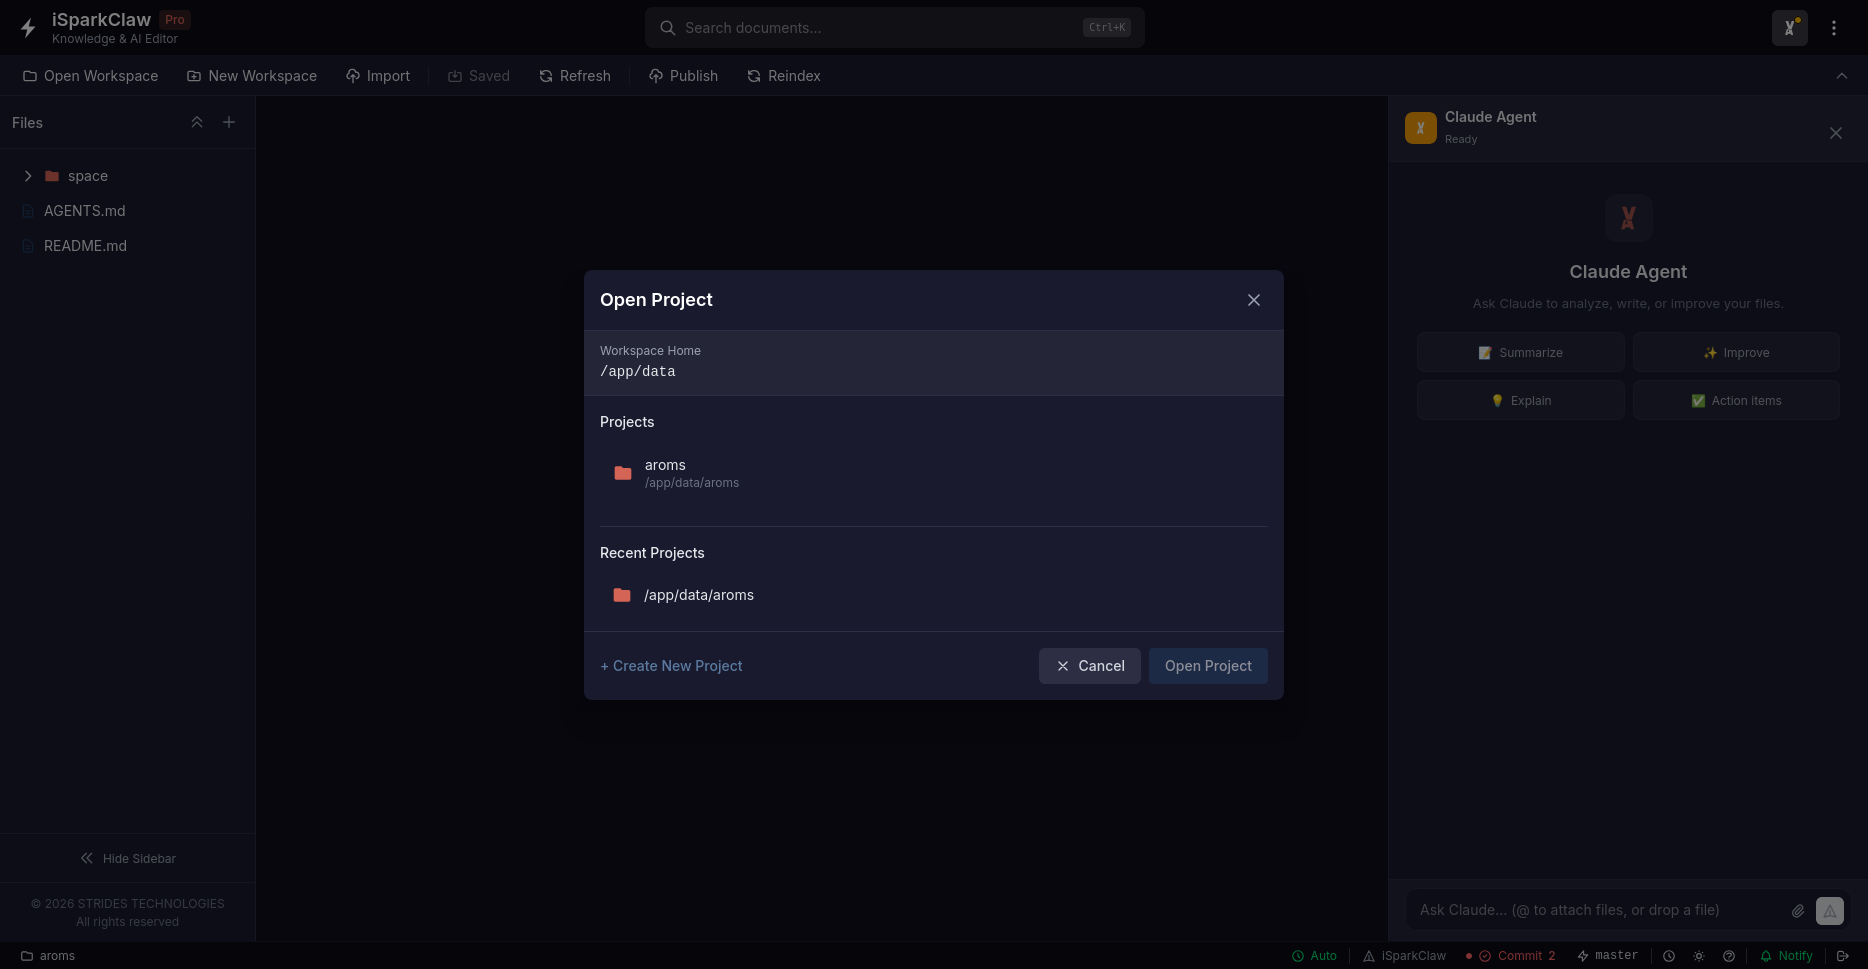
If you already have projects:
- Click Open Project in the header
- Select a project from the list
- The project loads with all its files
4. Explore the Editor
Section titled “4. Explore the Editor”The AI Editor interface has three main areas:
Left Sidebar (File Tree): Browse and manage your files. Right-click for create, rename, delete, and upload options.
Center (Editor): Write and edit your documents with helpful formatting tools. Toggle between Edit and Preview modes.
Right Sidebar (AI): Chat with the AI assistant for help with writing and editing.
Need Help?
Section titled “Need Help?”-
Press
F1or?in the app to see the built-in help dialog -
Check the status bar at the bottom for helpful tips
-
Document Conversion — Import PDF and DOCX files
-
Workspace Panel — File browser and editor
-
Settings & Theming — Customize the look and feel