Getting Started — Agentic Chatbot
Getting Started with iSparkClaw Agentic Chatbot
Section titled “Getting Started with iSparkClaw Agentic Chatbot”Welcome to the iSparkClaw Agentic Chatbot — your AI-powered assistant for writing, editing, and automated document management.
First Launch
Section titled “First Launch”Open iSparkClaw in your browser. The app will load at the root URL (/).
Authentication
Section titled “Authentication”If your deployment has authentication enabled, you will be redirected to the Login page (/login).

- SSO/OIDC Login: Click your organization’s SSO provider button to sign in.
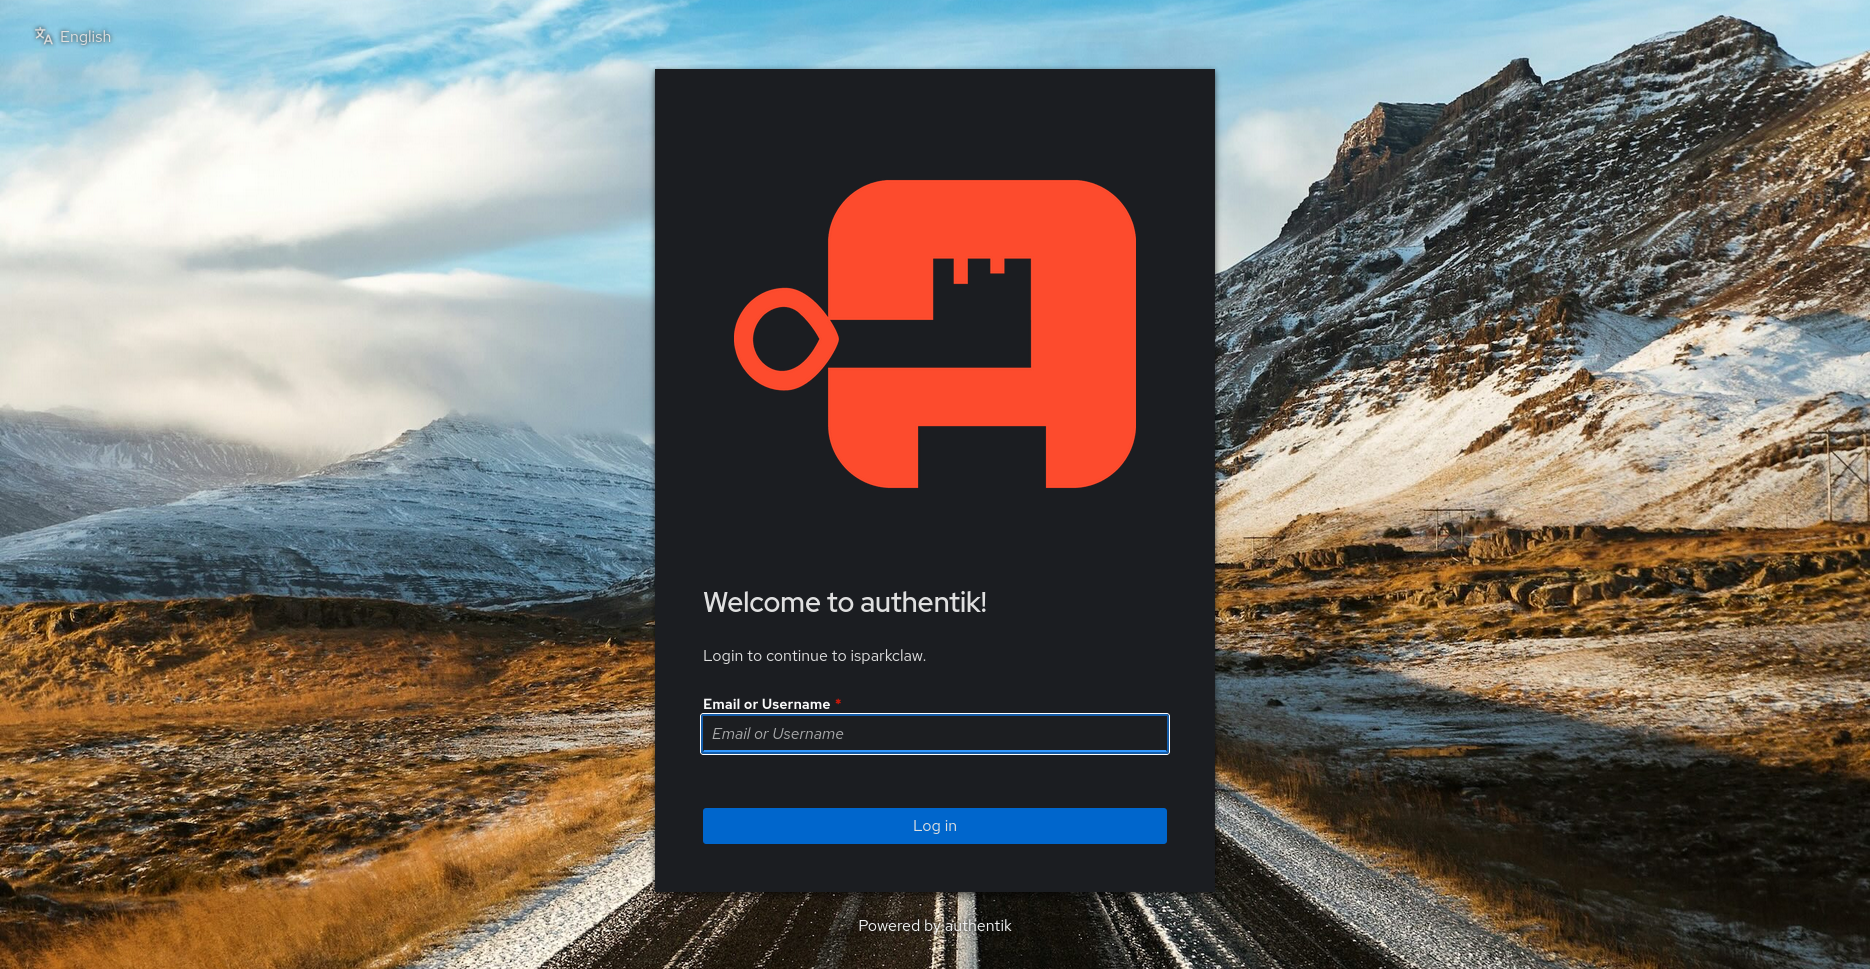
- No Authentication: If auth is not configured, you will be taken directly to the chat interface.
After successful login, you can view authentication debug logs at /oidc-log (useful for troubleshooting).
App Layout
Section titled “App Layout”The interface is organized into three main areas:
┌──────────┬──────────────────────────┬───────────────┐│ │ │ ││ Sidebar │ Chat Area │ Workspace ││ (left) │ (center) │ Panel (right)││ │ │ ││ - Chats │ - Messages │ - File tree ││ - Tasks │ - Composer (input) │ - Preview ││ - Skills│ - Top bar │ - Editor ││ - Memory│ │ - Git info ││ - Spaces│ │ ││ - Profiles│ │ ││ - Todos │ │ ││ │ │ │└──────────┴──────────────────────────┴───────────────┘Sidebar (Left)
Section titled “Sidebar (Left)”The sidebar contains 7 tabbed panels, each providing a distinct feature area. Panel data is lazy-loaded on first access for performance.
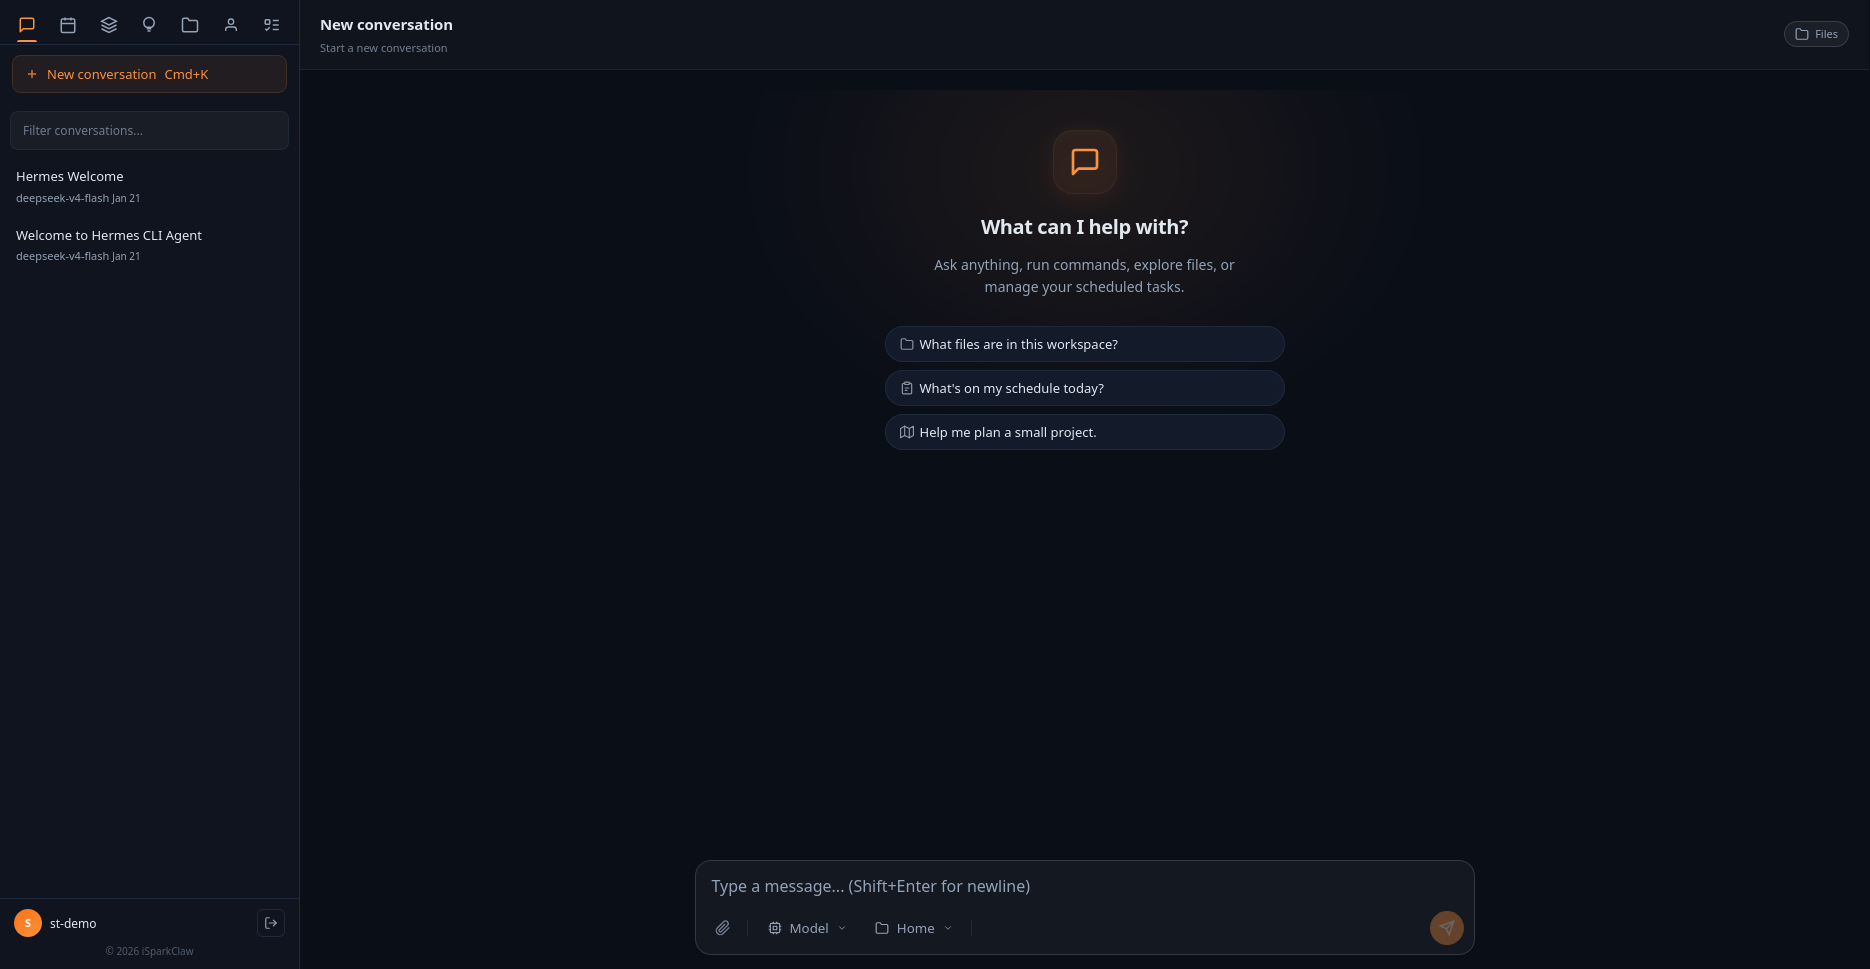
1. Chats Panel
Section titled “1. Chats Panel”The conversation management panel.
Session List
Section titled “Session List”- Displays all sessions sorted by most recent.
- Each entry shows the session title, active model, and relative timestamp (e.g., “5m ago”).
- The active session is highlighted.
- Unread sessions show an indicator dot.
Search
Section titled “Search”Type in the search field at the top to filter sessions by title.
New Conversation
Section titled “New Conversation”Click the ”+ New conversation” button to start a fresh session. A new session is also created automatically when you send your first message.
2. Tasks Panel
Section titled “2. Tasks Panel”Manage scheduled cron jobs for automated prompt execution.
Creating a Job
Section titled “Creating a Job”- Click “New Task”.
- Fill in the fields:
- Name: A descriptive name for the job.
- Schedule: A cron expression (e.g.,
0 9 * * 1) or natural language (e.g.,every 1h,daily at 9am). - Prompt: The message to send to the AI when the job runs.
- Delivery: Choose how to receive results:
- Local: Results appear within iSparkClaw.
- Discord: Send results to a Discord channel.
- Telegram: Send results to a Telegram chat.
- Click Create.
Managing Jobs
Section titled “Managing Jobs”Each job in the list shows its name and schedule. Click a job to expand details:
- Schedule: The cron expression or natural language schedule.
- Next run: When the job will next execute.
- Last run: When the job last ran.
- Prompt: A snippet of the prompt text.
Actions
Section titled “Actions”- Run: Execute the job immediately.
- Pause: Temporarily disable the schedule.
- Resume: Reactivate a paused job.
- Edit: Modify job settings.
- Delete: Remove the job permanently.
- View last output: See the result of the most recent run.
- View run history: Browse all past executions and their outputs.
The Tasks panel auto-refreshes every 30 seconds when active.
3. Skills Panel
Section titled “3. Skills Panel”Create and manage custom AI skills defined by SKILL.md files.
Viewing Skills
Section titled “Viewing Skills”- Skills are grouped by category.
- Use the search field to filter skills by name, description, or category.
- Click a skill to open its SKILL.md content in the Workspace Panel for preview.
Creating / Editing a Skill
Section titled “Creating / Editing a Skill”- Click “New Skill” or the edit icon on an existing skill.
- Fill in the fields:
- Name: The skill name.
- Category: Grouping category (e.g., “Analysis”, “Generation”).
- SKILL.md Content: The skill definition in YAML frontmatter + markdown format.
SKILL.md Format
Section titled “SKILL.md Format”A SKILL.md file uses YAML frontmatter followed by markdown content:
---name: my-skilldescription: What this skill doescategory: Analysis---
# My Skill
Detailed instructions and context for the AI...
4. Memory Panel
Section titled “4. Memory Panel”Manage persistent memory that the AI references across sessions.
My Notes
Section titled “My Notes”User-editable memory entries. Add notes about preferences, project context, or anything you want the AI to remember.
User Profile
Section titled “User Profile”An auto-generated profile built from conversation history. The AI uses this to personalize responses. It updates automatically as you interact.
Editing
Section titled “Editing”- Click Edit to enter edit mode for notes.
- Use the textarea to modify content.
- Click Save to persist changes or Cancel to discard.
5. Spaces (Workspaces) Panel
Section titled “5. Spaces (Workspaces) Panel”Configure which directories the AI has access to.
Adding a Workspace
Section titled “Adding a Workspace”- Type a directory path in the input field.
- Use autocomplete suggestions (press Tab to complete).
- Press Enter or click Add to add the path.
Managing Workspaces
Section titled “Managing Workspaces”- Added paths appear in a list.
- Click the remove (x) icon next to a path to delete it.
- The current workspace is indicated with a highlight.
Switching Workspace
Section titled “Switching Workspace”Click on a workspace path to switch the current session to that workspace. If no session exists, one is created automatically.
6. Profiles Panel
Section titled “6. Profiles Panel”Manage agent profiles — configurations that determine which AI model and API to use.
Profile Information
Section titled “Profile Information”Each profile shows:
- Name: Profile identifier.
- Model: The AI model name.
- Provider: The API provider (e.g., OpenAI, Anthropic).
- Skill count: Number of skills available to this profile.
- API keys status: Whether API keys are configured.
- Gateway status: Whether the local gateway is running or stopped.
Switching Profiles
Section titled “Switching Profiles”Click a profile to activate it. The active profile is highlighted.
Creating a Profile
Section titled “Creating a Profile”- Click “New Profile”.
- Fill in the fields:
- Name: Profile name.
- Clone from: Optionally clone settings from the active profile.
- Base URL: The API endpoint URL.
- API Key: The authentication key for the API.
- Click Create.
Deleting Profiles
Section titled “Deleting Profiles”Click the delete icon on a profile to remove it. The default profile cannot be deleted.
7. Todos Panel
Section titled “7. Todos Panel”A task list automatically extracted from tool messages in the current session.
Task Statuses
Section titled “Task Statuses”Tasks display status icons:
- Pending — Not yet started
- In Progress — Currently being worked on
- Completed — Finished successfully
- Cancelled — Aborted
The Todos panel reflects the state of tool-call-generated tasks within the active conversation.
Chat Area (Center)
Section titled “Chat Area (Center)”The main conversation area:
- Top Bar: Shows session title, message count, mobile menu toggle, and Files button to open/close the workspace panel.
- Messages: Displays the conversation history with streaming responses.
- Composer: The message input area at the bottom with file attachment, model selector, and workspace selector.
Workspace Panel (Right)
Section titled “Workspace Panel (Right)”A file browser and editor for your configured workspace directories. Open it by clicking the Files button in the top bar. See Workspace Panel for details.
Boot Process
Section titled “Boot Process”On first load, iSparkClaw performs these steps automatically:
- Checks authentication status
- Loads saved settings (theme, skin, font size) from localStorage
- Fetches available AI models
- Restores your last active session (if previously saved)
- Loads the session list
The interface appears once boot is complete. If authentication expires (401), you are redirected to login.
Offline / Dev Mode
Section titled “Offline / Dev Mode”If the backend API is unreachable, the app still loads (it does not block on API failures). This allows development and offline use. Features requiring the backend will show errors when unavailable.
Chat Interface
Section titled “Chat Interface”The chat interface is the core of iSparkClaw. It supports streaming AI responses, file attachments, model switching, and contextual workspace awareness.
Composer (Message Input)
Section titled “Composer (Message Input)”The composer is the input area at the bottom of the chat.
Basic Usage
Section titled “Basic Usage”- Type your message in the text area.
- Press Enter to send.
- The text area auto-resizes as you type.
File Attachments
Section titled “File Attachments”You can attach files to your messages in three ways:
- Drag and drop: Drop files onto the chat area.
- Paste: Paste images or files directly into the composer (Ctrl+V / Cmd+V).
- File picker: Click the attachment icon to browse files.
Attached files appear in a tray above the input. You can remove them before sending. A progress bar shows upload status.
Model Selector
Section titled “Model Selector”Click the model chip (e.g., “gpt-4”) above the composer to open a dropdown of available models. Models are grouped by provider. You can search within the dropdown to find a specific model quickly.
The selected model is used for the current session.
Workspace Selector
Section titled “Workspace Selector”Click the workspace chip to open a dropdown of configured workspace directories. Selecting a workspace gives the AI context about the files in that directory. If no session exists, one is created automatically when you switch workspaces.
Slash Commands
Section titled “Slash Commands”Type / in the composer to open the command palette. Available commands:
| Command | Description |
|---|---|
/help | Show help information |
/clear | Clear the current conversation |
/summarize | Summarize the conversation |
/search | Search within context |
/code | Code-related operations |
/image | Image generation |
Select a command with arrow keys and press Enter, or continue typing to autocomplete.
Messages Area
Section titled “Messages Area”Streaming Responses
Section titled “Streaming Responses”Responses stream in real-time via Server-Sent Events (SSE). You see text appear word by word as the model generates it.
Reasoning / Thinking Blocks
Section titled “Reasoning / Thinking Blocks”Some models include reasoning or thinking steps. These appear in collapsible blocks labeled “Reasoning” or “Thinking”. Click to expand or collapse them.
Tool Calls
Section titled “Tool Calls”When the AI uses tools (file operations, search, code execution, etc.), tool calls are displayed inline with status badges:
- Running (blue) — Tool is currently executing
- Done (green) — Tool completed successfully
- Error (red) — Tool failed
Tool Approval
Section titled “Tool Approval”Some tools require your approval before execution. An approval card appears in the message flow with options:
- Approve Once — Allow this single invocation
- Approve Session — Allow this tool for the rest of the session
- Approve Always — Always allow this tool (persisted)
- Deny — Block this invocation
Clarification Requests
Section titled “Clarification Requests”The AI may ask you to clarify intent. A clarification card presents predefined choices or a free-text input. Select or type your response to continue.
Context Compression
Section titled “Context Compression”When conversations become long, the system may auto-compress earlier context. A notification appears when compression occurs.
Session Management
Section titled “Session Management”New Conversation
Section titled “New Conversation”- Click ”+ New conversation” in the Chats panel.
- Or use the keyboard shortcut Cmd/Ctrl+K.
Session List
Section titled “Session List”The Chats panel shows all your sessions with:
- Title: Auto-generated from the first message or manually set.
- Model indicator: Shows which model the session uses.
- Relative timestamp: e.g., “5m ago”, “2h ago”, “3d ago”.
- Unread indicator: Highlights sessions with new activity.
Search Sessions
Section titled “Search Sessions”Use the search/filter input at the top of the Chats panel to find sessions by title.
Active Session
Section titled “Active Session”The currently active session is highlighted in the list. All messages, model selection, and workspace context apply to the active session.
Error Handling
Section titled “Error Handling”The interface handles common errors gracefully:
- Rate limit exceeded: A notification appears with guidance to wait.
- Quota exhaustion: A message indicates the quota has been reached.
- Authentication mismatch: You may be redirected to re-authenticate.
- Backend unavailable: Error messages indicate the API is unreachable.
Canceling Responses
Section titled “Canceling Responses”While a response is streaming, a Stop button appears in the composer. Click it to cancel the current response mid-stream.